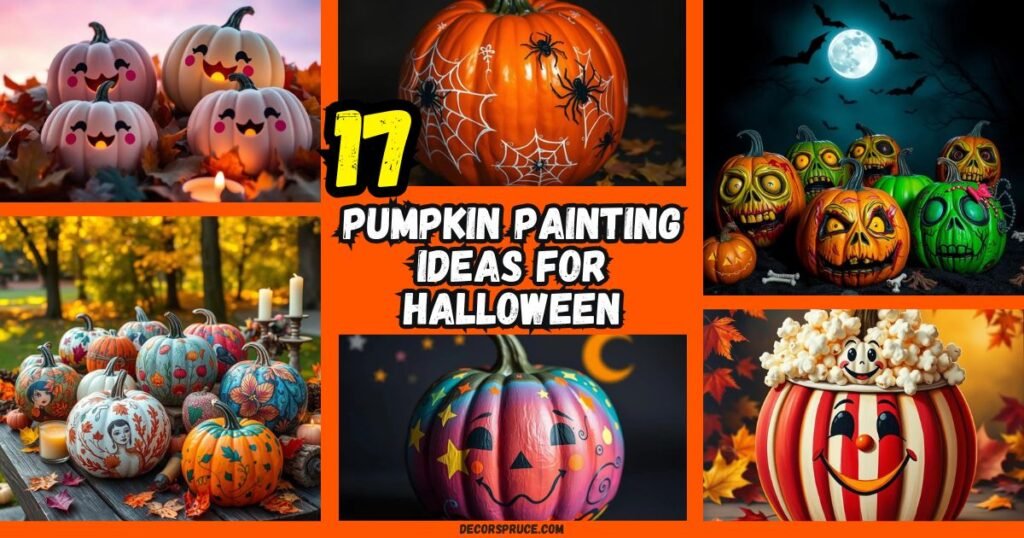
As the air gets cooler and leaves change color, there’s nothing better than decorating a pumpkin. You can create spooky designs or cute ones. Let’s dive into some amazing pumpkin art ideas to make your Halloween unforgettable.
I started by visiting a local pumpkin patch. There, I found many pumpkins ready to be decorated. I picked a few and began painting, from scary zombies to magical unicorns. I followed tutorials and used creative methods to make my pumpkins stand out.
Introduction to Pumpkin Painting
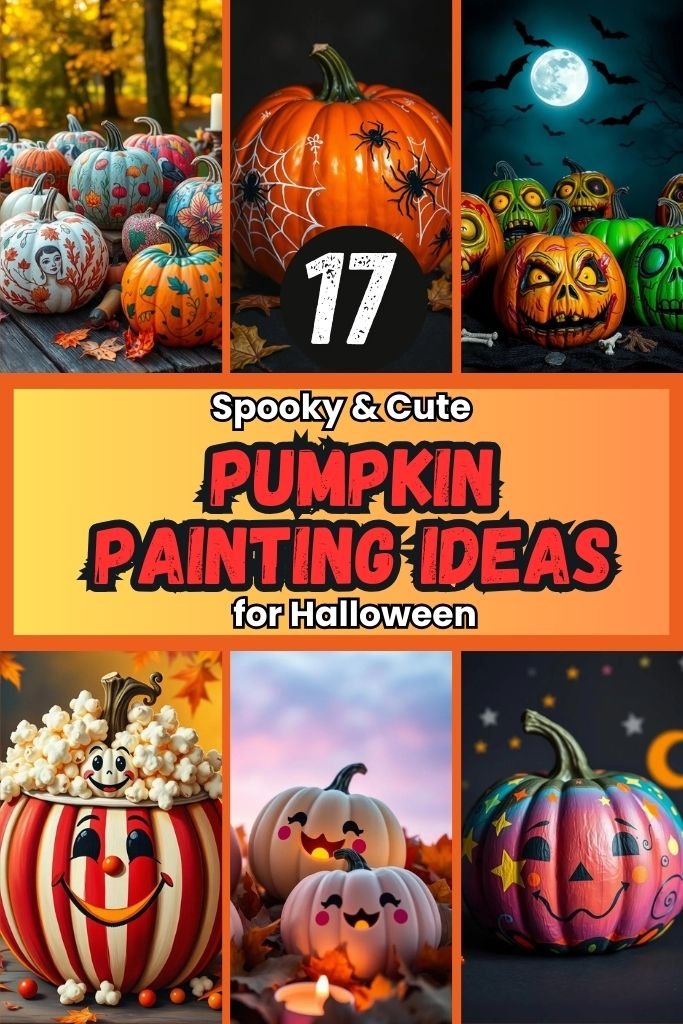
Pumpkin painting is a beloved fall tradition. It lets your creativity shine. Whether for Halloween or just to enjoy the season, painting pumpkins is fun. The whole family can have a great time making spooky or whimsical designs.
The Joy of Pumpkin Decorating
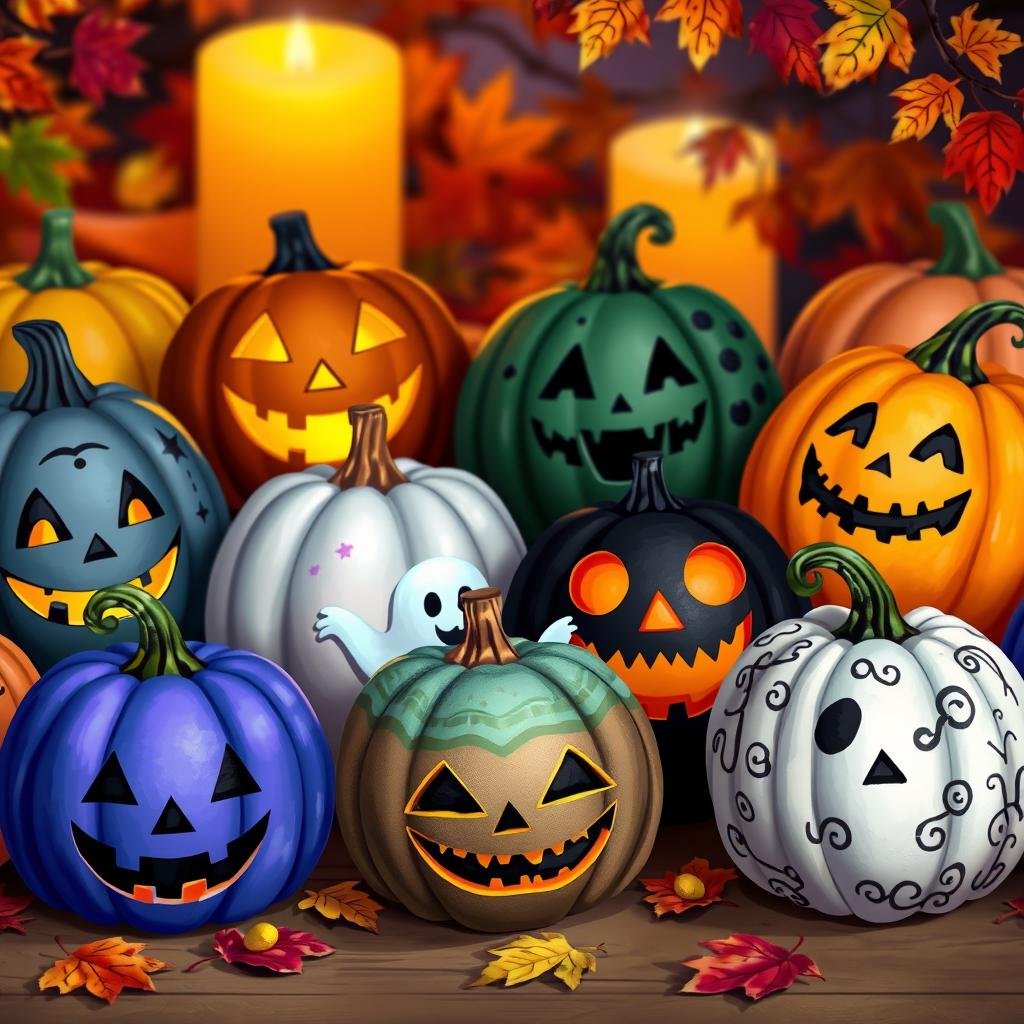
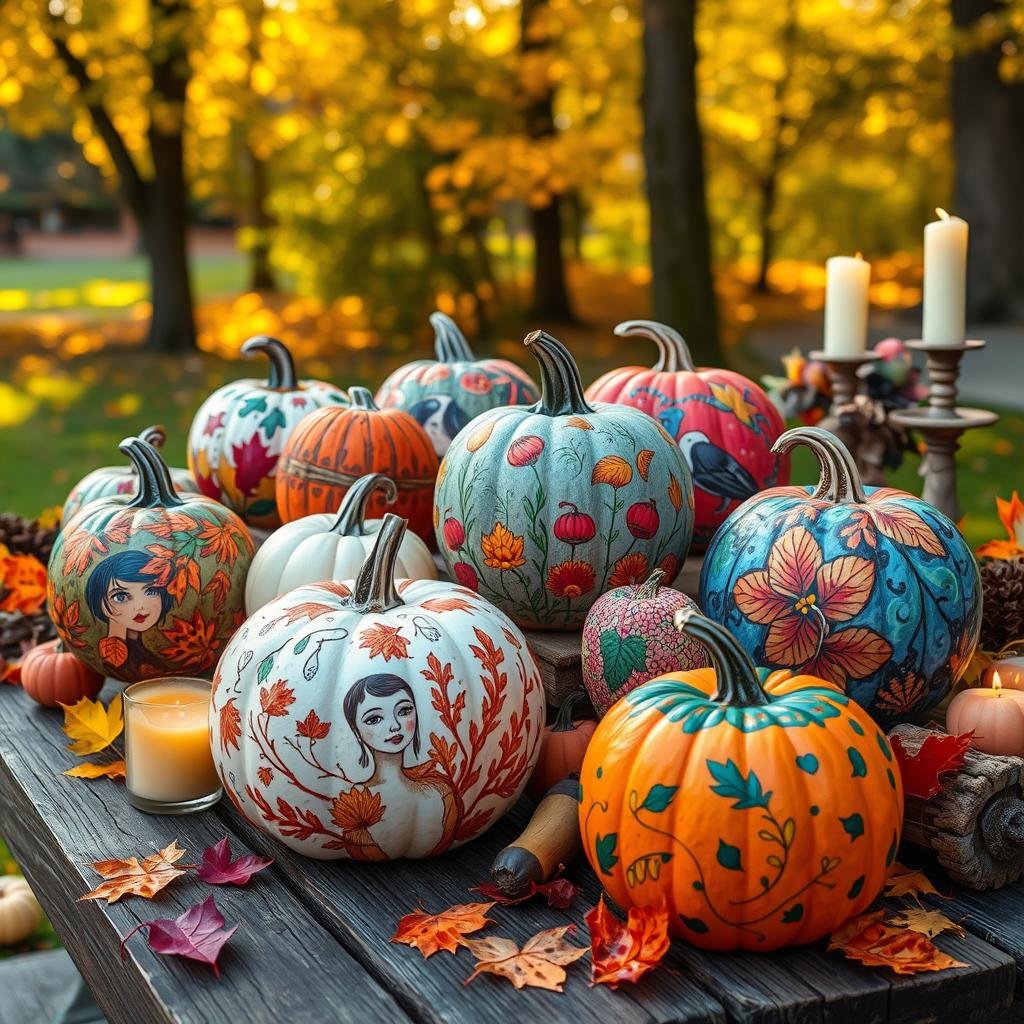
Pumpkin decorating is a fun activity for all. You can use many supplies, like mini pumpkins and acrylic paints. Spend a cozy afternoon painting, and let your designs dry overnight for a perfect finish.
Why Painted Pumpkins are Perfect for Halloween
Painted pumpkins are great for Halloween because they last longer than carved ones. They can be enjoyed indoors and outdoors without rotting. Paint them to add a creative touch to your Halloween decor. They’ll impress your guests and make your space festive.
Zombie Painted Pumpkins
Let your Halloween spirit shine with zombie pumpkin painting! Turn regular pumpkins into creepy, undead works of art. They’ll bring a spooky charm to your Halloween decor. This tutorial shows you how to create a zombie look with black and white acrylic paints.
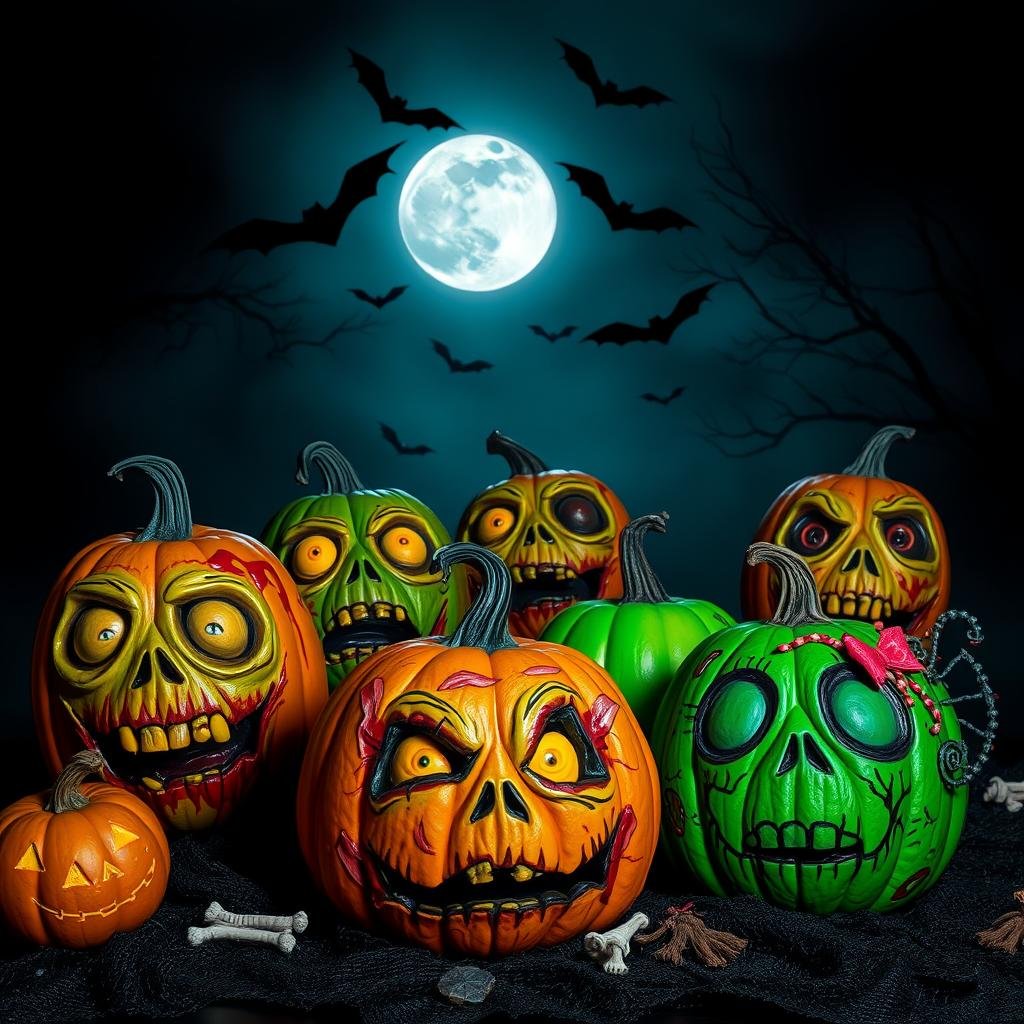
First, get your supplies ready. You’ll need white pumpkins, black and white acrylic paint, brushes, and extras like googly eyes and plastic teeth. The guide also suggests using fake pumpkins for a decoration that lasts all season.
Start by painting the pumpkins white. Then, use black paint for the zombie details. Try different painting techniques like sponging and dry brushing for a realistic look. Each pumpkin will be one-of-a-kind!
After the paint dries, add the final touches. Use hot glue to make the eyes and mouth look sunken. You can also add spooky details like bouncing eyeballs or blood marks. The possibilities are endless!
This zombie pumpkin painting guide is perfect for anyone who loves Halloween or enjoys crafting. It will spark your creativity and make your home look hauntingly beautiful. So, grab your brushes and start painting for a spooky Halloween display!
Drippy Copper Gourds and Pumpkins
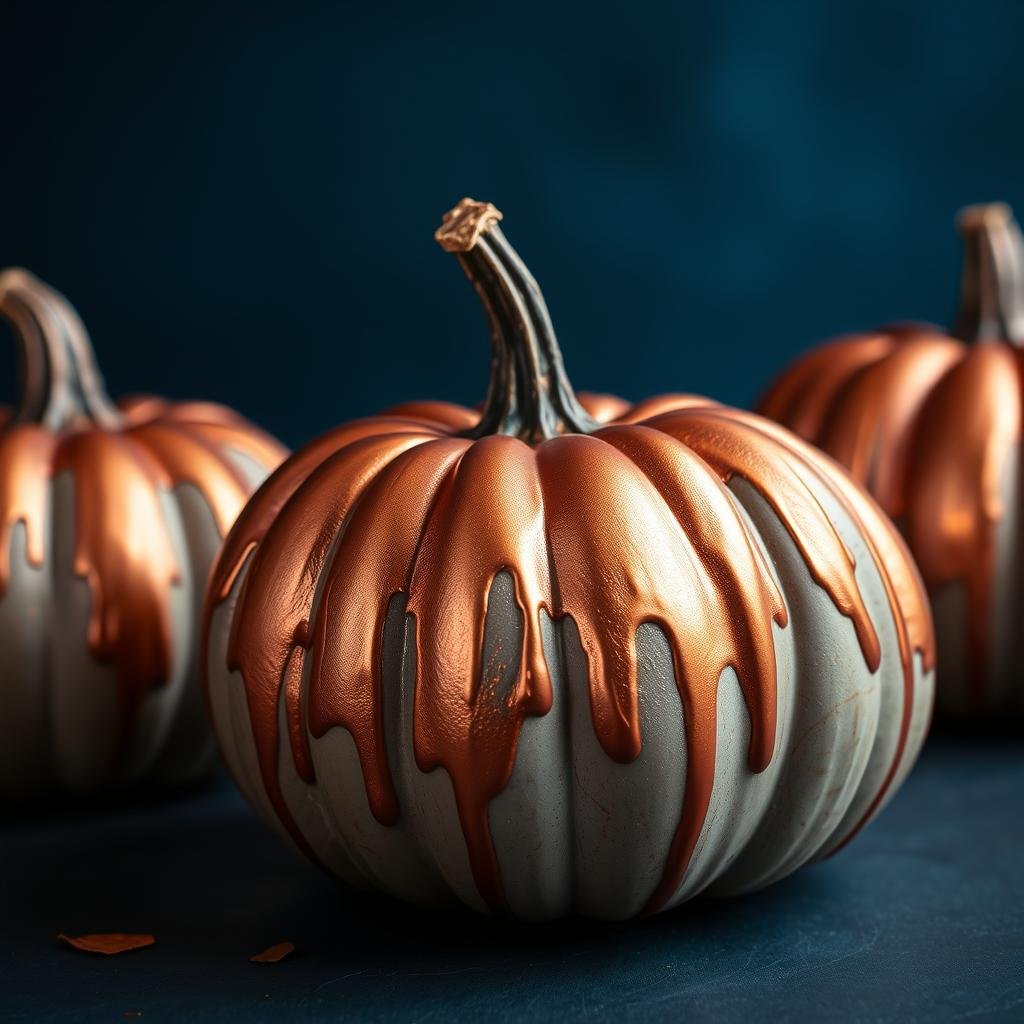
Add elegance to your Halloween decor with drippy copper pumpkins and gourds. This technique makes a stunning dripping effect that will wow your guests. Choose from classic pumpkins or whimsical gourds for a creative touch that makes your spooky celebrations stand out.
Creating the Drippy Effect
To get the drippy copper look, pick a smooth, unblemished pumpkin or gourd. Use an old paintbrush to apply a lot of liquid copper leaf paint, focusing on the top. Tilt and rotate the surface to let the paint drip down, creating a natural effect. Wait for the paint to dry before showing off your copper masterpiece.
Choosing the Perfect Gourds and Pumpkins
When picking pumpkins and gourds, look for smooth, even surfaces. Avoid any blemishes to keep the look clean and elegant. Elliptical gourds or pie pumpkins are great choices because of their rounded shapes that fit the drippy copper design perfectly.
Checkered Pumpkin Patterns
Elevate your pumpkin decorating game this Halloween with eye-catching checkered patterns. These classic black and white designs turn ordinary gourds into modern, stylish decor. You can try different color combinations to make your own unique checkered pumpkin masterpieces.
To start, pick some medium-sized pumpkins or gourds. Small faux pumpkins cost as little as $2.98 each, while larger ones are up to $5.98. Next, apply two coats of white acrylic craft paint for a clean base. Once it’s dry, use painter’s tape to draw a grid of vertical and horizontal lines, making the checkered pattern.
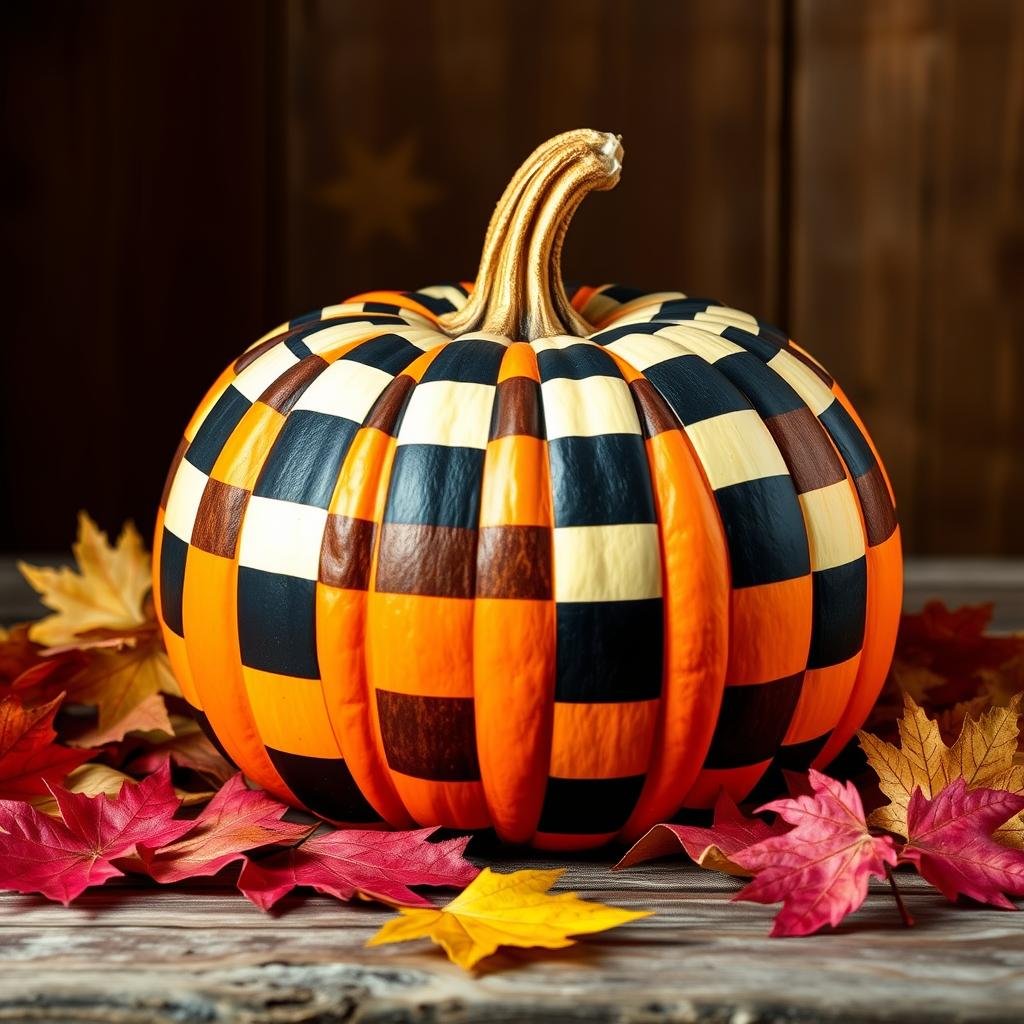
The last step is to fill in the grid intersections with bold black paint. This completes the classic checkered look. You can get creative with color blocking, polka dots, or stripes for a unique pumpkin design. Finish with a glossy topcoat for a professional look.
Whether decorating your front porch or adding whimsy indoors, these checkered pumpkin painting ideas will impress. Let your creative pumpkin designs shine this pumpkin decorating season.
Spider Web Pumpkin Painting Ideas
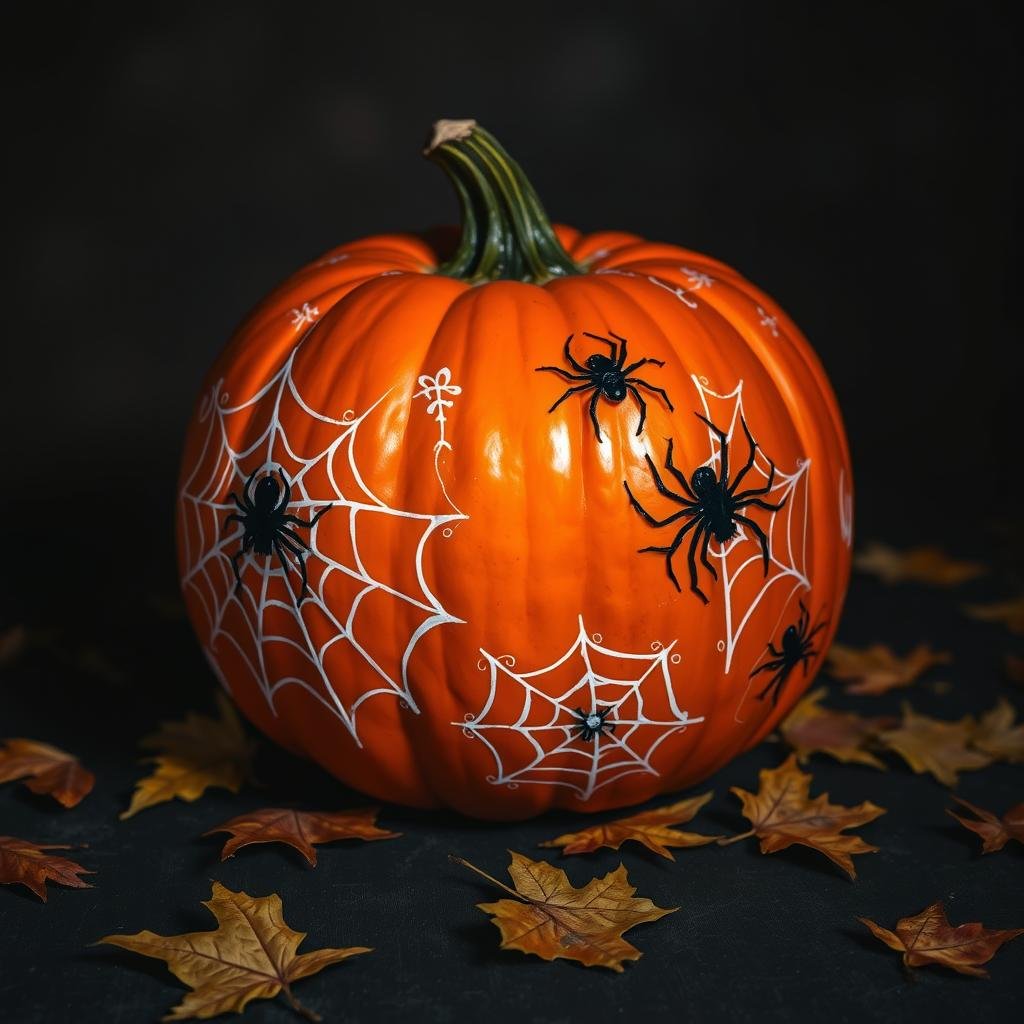
Get into the spooky spirit with these spider web pumpkin painting ideas! Turn plain pumpkins into creepy, crawly masterpieces that will wow your Halloween guests. Use a simple masking tape trick and some realistic plastic spiders to make a mesmerizing spider web effect. It’s perfect for both spider web pumpkin art and halloween pumpkin decorations.
Masking Tape Technique
Begin by putting strips of masking tape in a web-like pattern on your pumpkin. Arrange the tape to get the spider web look you want, with lines that cross over for more interest. After the tape is set, spray paint the whole pumpkin with matte black paint. Let it dry, then remove the tape to show off the detailed creative pumpkin designs.
Adding Spooky Spiders
To elevate your pumpkin painting techniques, add plastic spiders to your web-patterned pumpkin. Place the spiders around the web to make it seem like they’re crawling. This small step will make your pumpkin a truly chilling Halloween decoration. Your guests will be amazed by your spider web pumpkin art.
Popcorn Bucket Pumpkin
Get ready to add a delightful touch of whimsy to your Halloween decor with the popcorn bucket pumpkin! This creative pumpkin painting idea turns a simple pumpkin into a cheerful popcorn container. Embrace your inner child and let your pumpkin craft ideas shine.
Start by painting your pumpkin a vibrant shade of pink. This bold hue will instantly capture attention and set the stage for your popcorn-inspired design. Once the base coat is dry, use paper strips in contrasting colors to mimic the look of a popcorn container. Carefully glue these strips around the pumpkin, creating that iconic striped pattern.
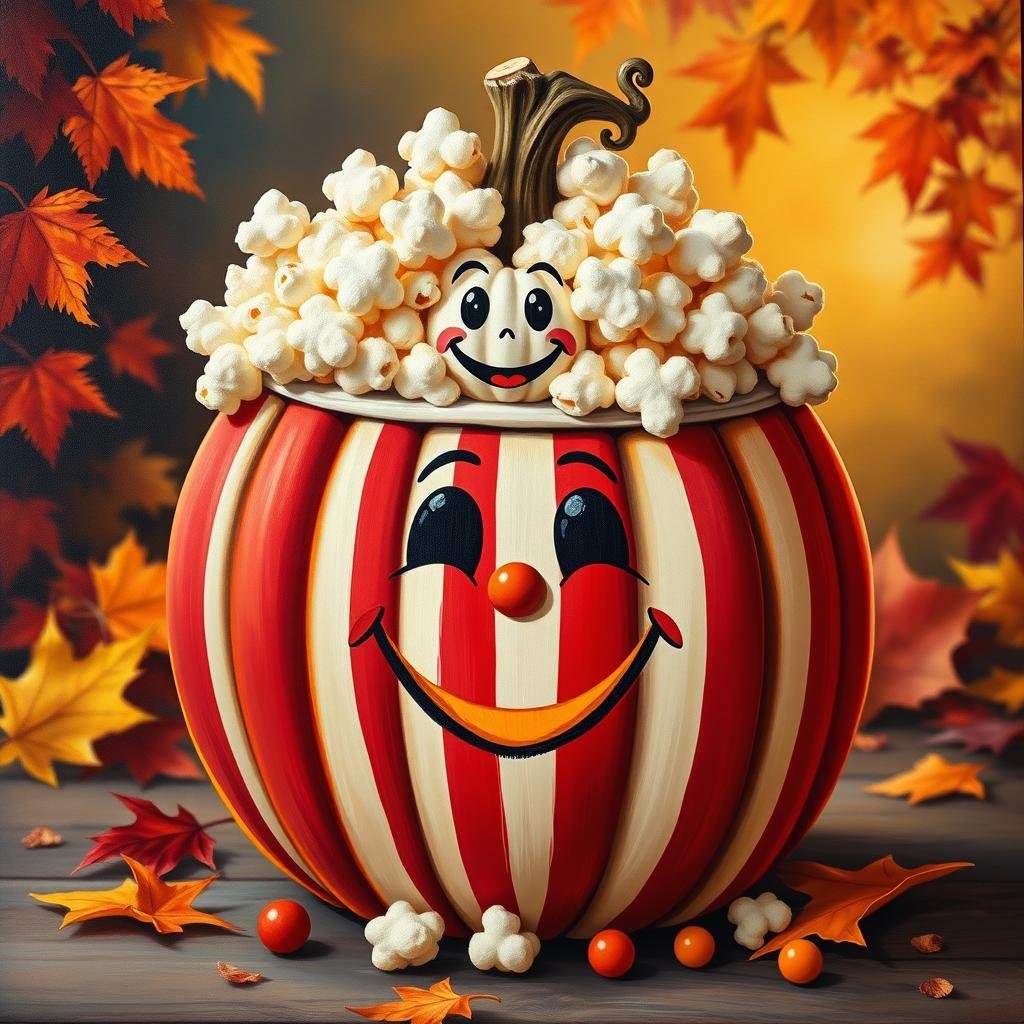
The finishing touch? Adding real popcorn pieces to the top of your pumpkin. Dab a small amount of glue on the pumpkin’s surface and gently press the popcorn kernels into place. The result is a whimsical and delightful pumpkin craft that will delight all who see it.
Unleash your creativity with this popcorn bucket pumpkin project. Whether you display it on your porch or use it as a centerpiece, this pumpkin painting idea is sure to spark joy and inspire your guests. Embrace the spirit of the season and let your pumpkin craft ideas shine bright this Halloween.
Hocus Pocus Pumpkin Painting
Get ready to create spooky and delightful pumpkin art with a Hocus Pocus twist! Bring the iconic Sanderson sisters from the beloved Halloween movie to life on your pumpkins. This project is perfect for both kids and adults who love Hocus Pocus.
Bringing the Sanderson Sisters to Life
Capture the mischievous spirit of the Sanderson sisters – Winifred, Mary, and Sarah – by painting their portraits on your pumpkins. With basic craft supplies and a little imagination, you can recreate their looks. This brings these hocus pocus-loving characters to your Halloween decor.
Supplies Needed for Hocus Pocus Pumpkins
To bring the Hocus Pocus pumpkin painting ideas to life, you’ll need a few key supplies. You’ll need orange pumpkins, acrylic craft paints in various colors, pom-poms, construction paper, pipe cleaners, and a paintbrush. With these simple materials, you can capture the essence of the Sanderson sisters. This adds a spooky-yet-cute touch to your Halloween celebrations.
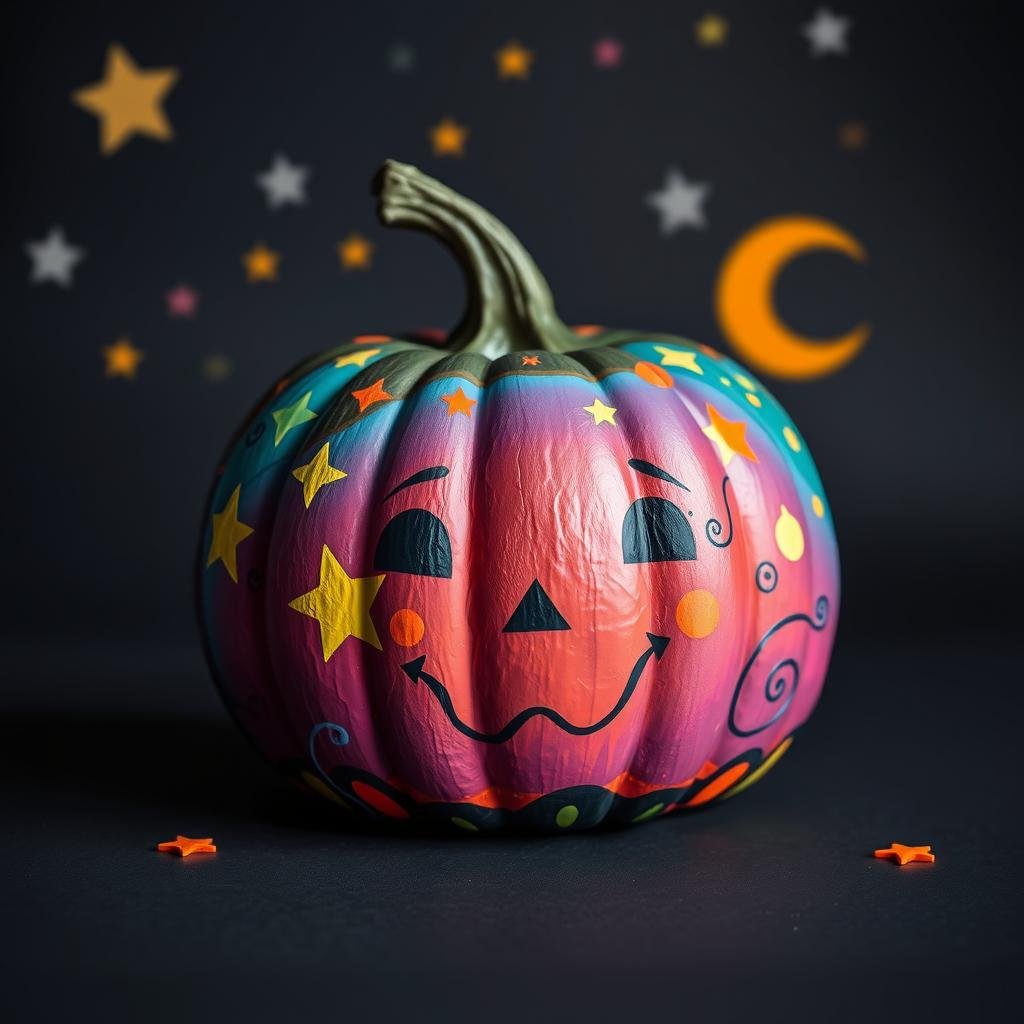
Whether you’re a longtime fan of the Hocus Pocus movie or just looking for a fun project, these designs are perfect. They’re sure to cast a spell on your Halloween decor. Get ready to channel your inner witch and bring the magic of Hocus Pocus to life through your pumpkin art!
Unicorn Pumpkin Painting
Unleash your creativity and turn a simple pumpkin into a magical unicorn for Halloween! Painting a unicorn pumpkin is a fun and whimsical project. It adds a touch of enchantment to your spooky decor. With just a few basic craft supplies, you can create a unique unicorn pumpkin.
Start by priming your pumpkin with a couple of coats of white latex primer. This creates a smooth, even surface. Once dry, apply a single coat of white acrylic paint for the unicorn-inspired hue. For the horn, use craft foam, felt, or Model Magic clay.
Make your unicorn pumpkin come alive with delicate paper flowers and crafting foam ears and eyes. Finish it off with a dusting of glitter. The possibilities are endless in pumpkin art projects and creative pumpkin designs. So let your imagination soar and create a unicorn pumpkin painting that will be the centerpiece of your Halloween celebration.
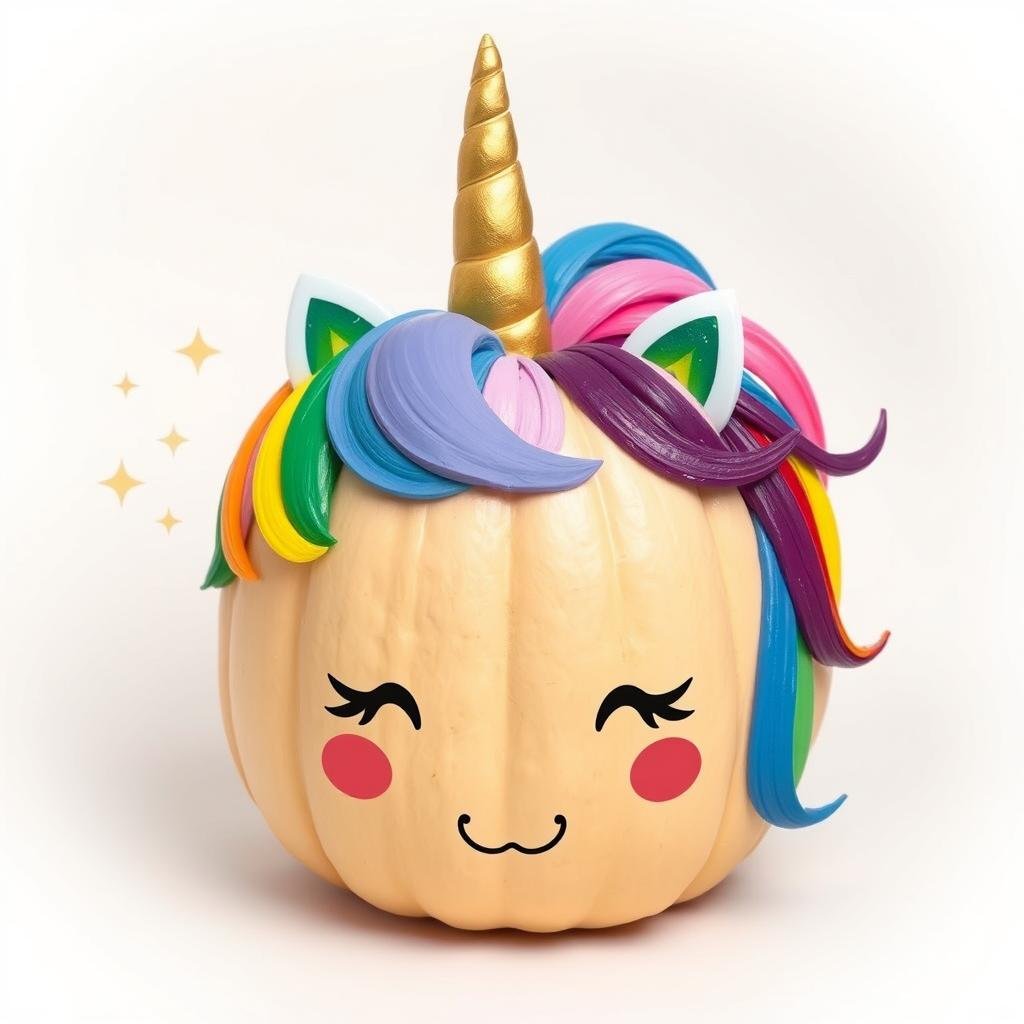
With a little patience and some basic craft supplies, you can turn a humble pumpkin into a whimsical unicorn delight. Embrace your inner artist and let your unicorn pumpkin painting shine bright this Halloween season.
Drippy Watercolor Pumpkin Art
Discover the beauty of messy, drippy watercolor pumpkins. Let your creativity shine with watercolor pumpkin painting. Each stroke and drip makes your pumpkin special.
Embracing the Messy Look
Forget about perfect pumpkins. The beauty of drippy pumpkin art is in its flaws. Watercolors bleed and blend, making your pumpkin unique. Try different techniques for amazing creative pumpkin designs.
Choosing Watercolor Paint Colors
The right colors make pumpkin painting techniques stand out. Explore watercolors and dream big. Use bright blues, deep greens, and warm autumn colors for stunning art.
Mix and layer colors for depth. Let the paint flow and mix for a captivating look.
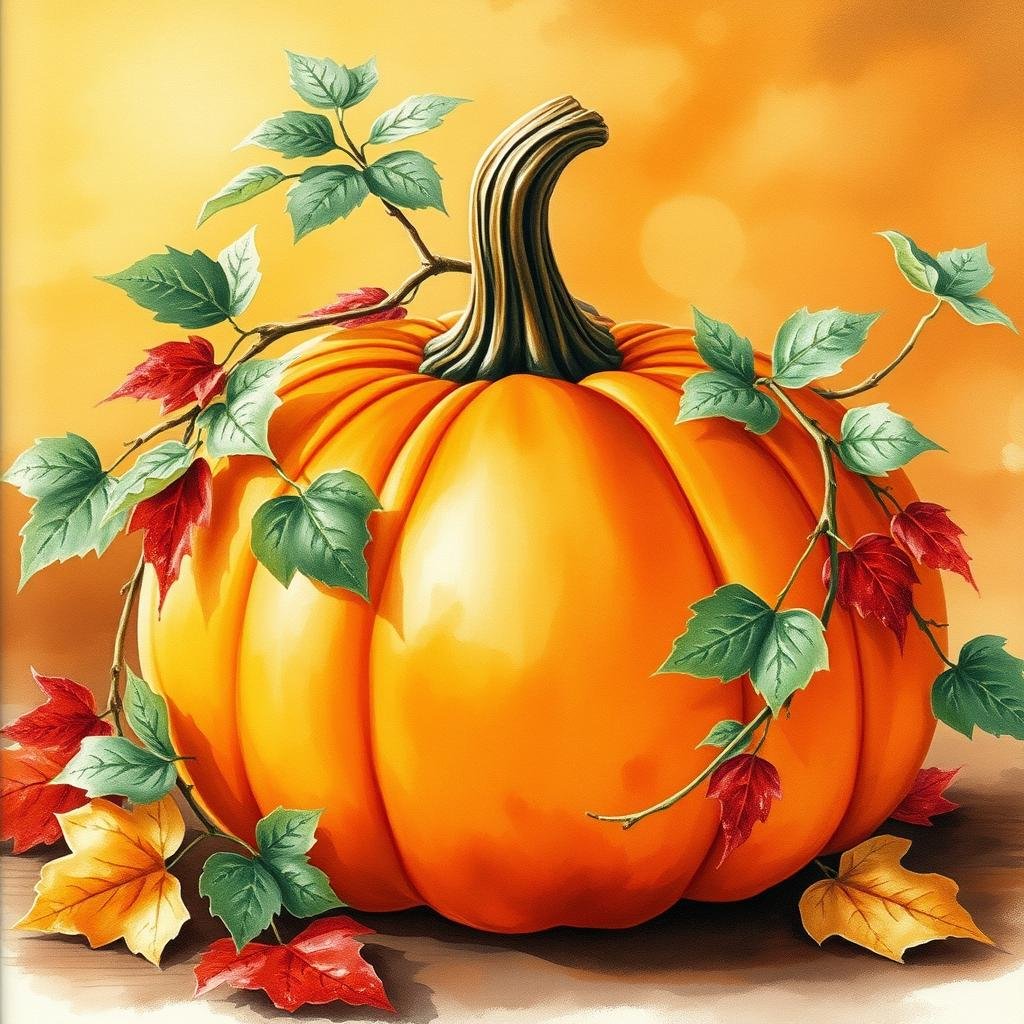
Black and White Striped Pumpkins
Elevate your pumpkin decorating game this Halloween with classic black and white striped pumpkins. These bold, graphic designs make a striking statement. They are surprisingly simple to create. Whether you opt for a monochromatic look or add a pop of color, striped pumpkins are a surefire way to inject some creativity into your pumpkin painting projects.
Start by painting the entire pumpkin a bright, clean white. Once the base coat is dry, use the natural grooves of the pumpkin as a guide to add vertical black stripes. For a sleek, modern aesthetic, keep the stripes evenly spaced and uniform in width. Alternatively, you can experiment with varying stripe widths for a more dynamic, textured effect.
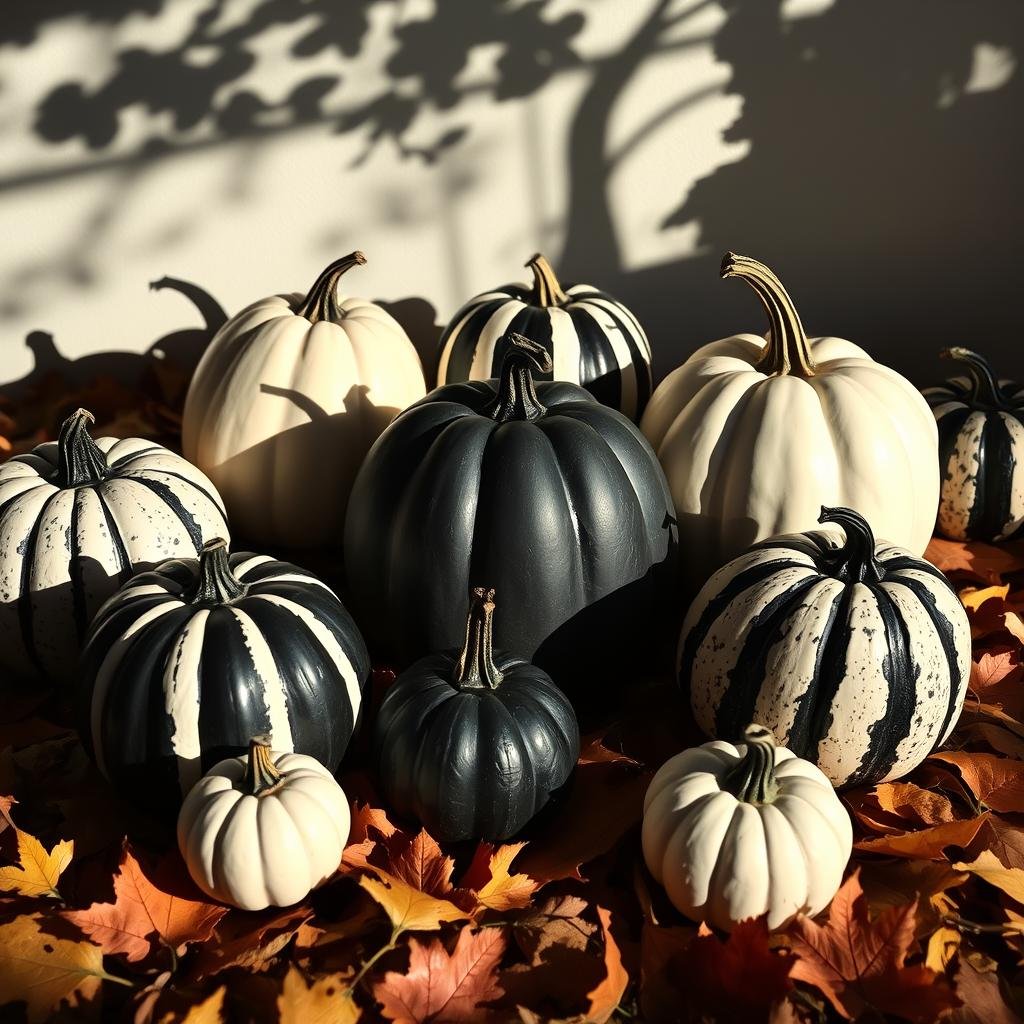
The beauty of this black and white pumpkin painting technique lies in its simplicity. By embracing the pumpkin’s unique shape and texture, you can create striking, creative pumpkin designs that require minimal effort. Pair your black and white pumpkin painting with other pumpkin decorating ideas for a cohesive, visually stunning display.
pumpkin painting ideas
As the air gets crisp and Halloween nears, it’s time to get creative. Painting pumpkins with trendy monstera leaf designs is all the rage. This adds a fresh, modern twist to your Halloween decor.
Bring on the Botanical Bliss
Unleash your inner artist and turn plain pumpkins into stunning monstera leaf masterpieces. Choose smooth, round pumpkins for the best canvas. Then, paint vibrant greens, blues, and purples to bring the monstera leaf’s lush, tropical vibe to life.
To get the perfect monstera leaf pattern, make a simple stencil from paper or cardboard. Place the stencil on your pumpkin and paint the intricate leaf veins with a thin brush. Your pumpkin will be the star of any Halloween party.
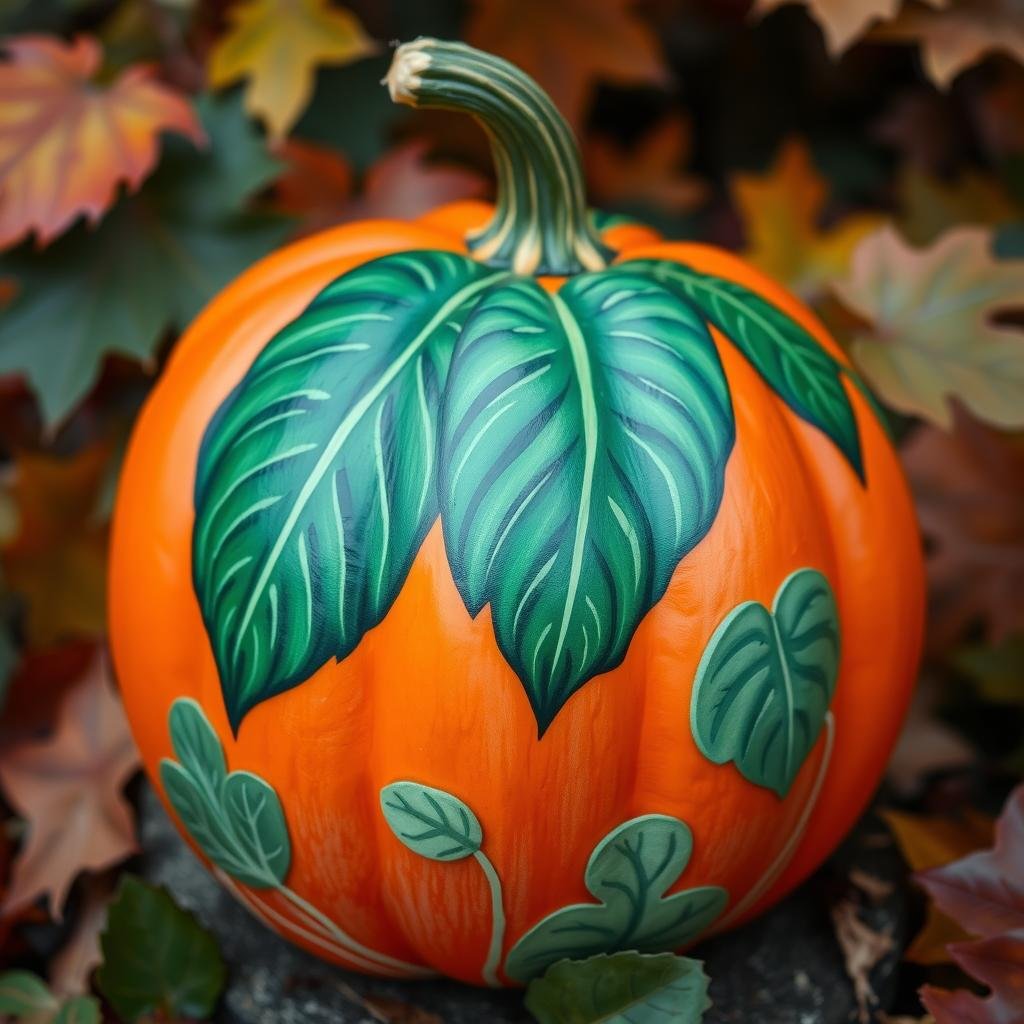
Pumpkin painting is a great way to express your creativity and make unique decor for Halloween. From monstera leaf pumpkins to other creative designs, the possibilities are endless. So, pick up your paints, brushes, and pumpkins, and let your inner artist shine this Halloween.
Skeleton Pumpkin Sculptures
Get ready to create some spooky and creative skeleton pumpkin art this Halloween! Stacking two pumpkins is the perfect way to craft a striking 3D skeleton scene. Start by spray painting your pumpkins a classic white hue. Then, use black paint or markers to bring the skeleton bones to life, sketching out the rib cage, spine, and limbs across the two pumpkins. The result is a Halloween pumpkin decoration that’s sure to wow your guests with its creative pumpkin designs.
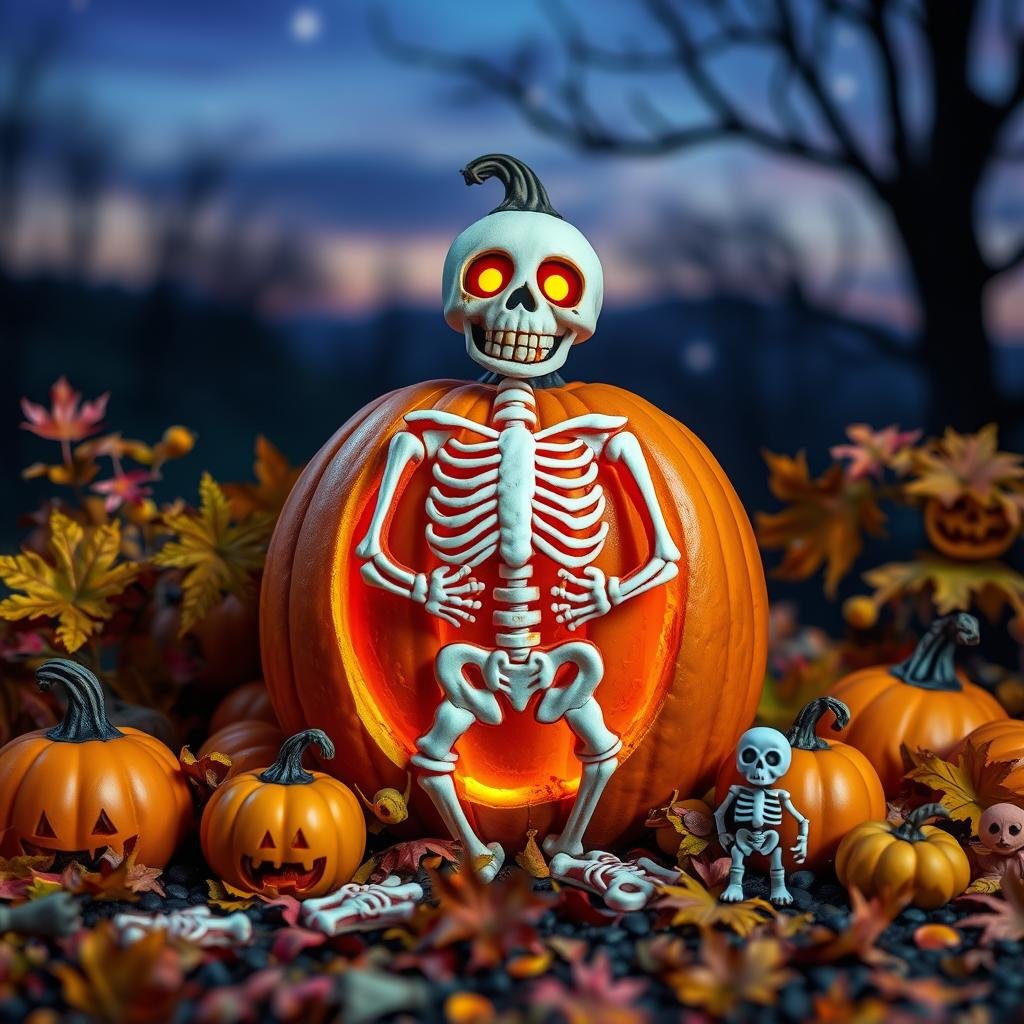
To achieve the perfect skeleton look, opt for a pure black paint like FolkArt’s Licorice shade. You can also mix in touches of Dove Gray and Metallic Silver Sterling for added dimension. Use a variety of brush sizes, from small detailing brushes to larger ones for broader strokes, to capture all the intricate bone details. Don’t forget to finish with a coat of Sparkle Mod Podge for a festive, glittery touch!
With just 10 simple steps, you’ll have a spooktacular skeleton pumpkin ready to display. This project is a great way to get creative and inject some personality into your Halloween pumpkin decorations this season. Embrace your inner artist and let your skeleton pumpkin sculpture shine!
Spa Day Pumpkin Painting
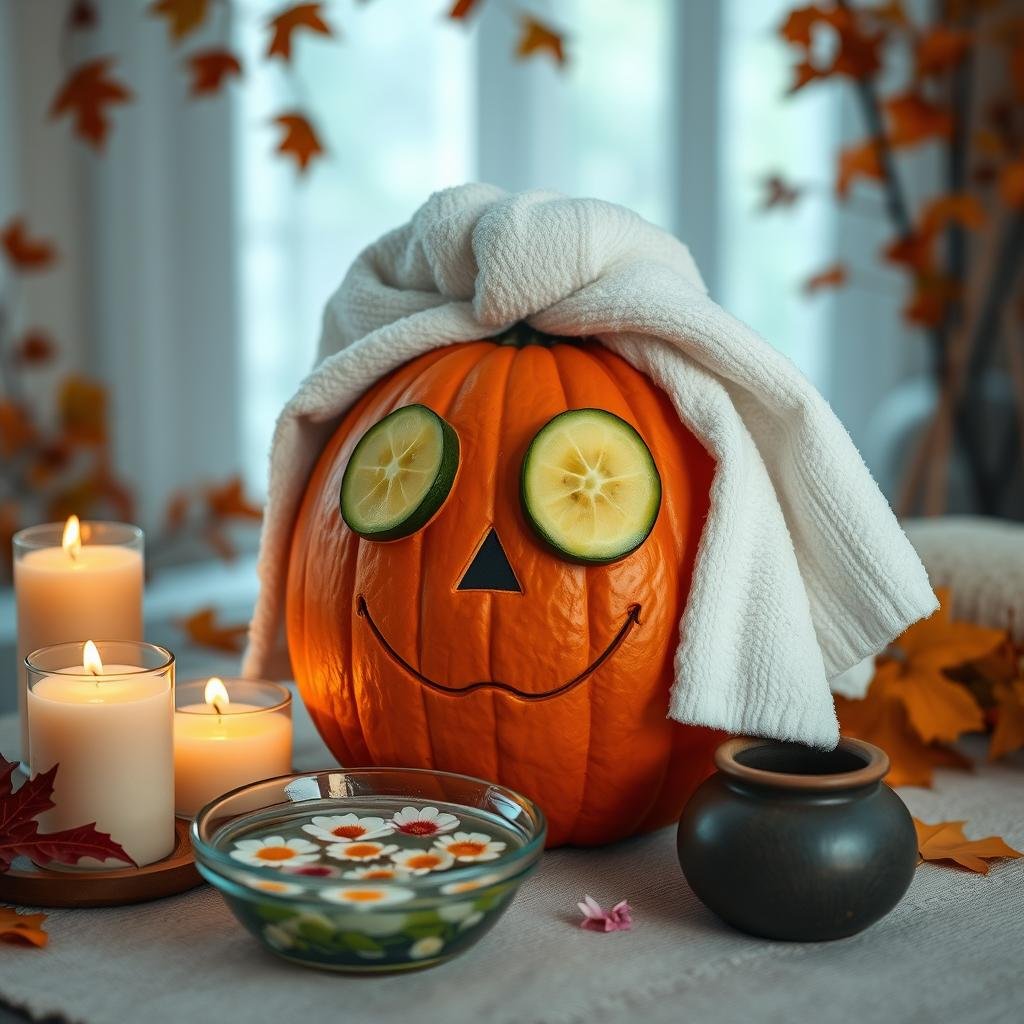
Give your pumpkin a spa day with a fun pampering design! Paint it with a “face mask” and add a shower cap. Finish with cucumber eyes for a relaxing art piece. Follow these steps for a spa pumpkin and explore creative pumpkin ideas.
Pampering Your Pumpkin
Begin by painting your pumpkin with a calming green “face mask” using acrylic paint. After it dries, place a shower cap on it. Use a black marker to draw cucumber eyes for a pampered look.
Assembling the Spa Pumpkin
Add a fluffy white towel or a tiny bar of soap for extra luxury. These details make your pumpkin look like a spa. Enjoy making your pumpkin special for a unique Halloween display.
Mini Spider Pumpkins
Embrace the spooky season with a delightfully creepy touch – mini spider pumpkins! These adorable arachnid-inspired gourds are the perfect addition to your Halloween pumpkin decorations. Craft a whole display of these mini spider pumpkins by painting small gourds or pumpkins glossy black and attaching wire legs and googly eyes.
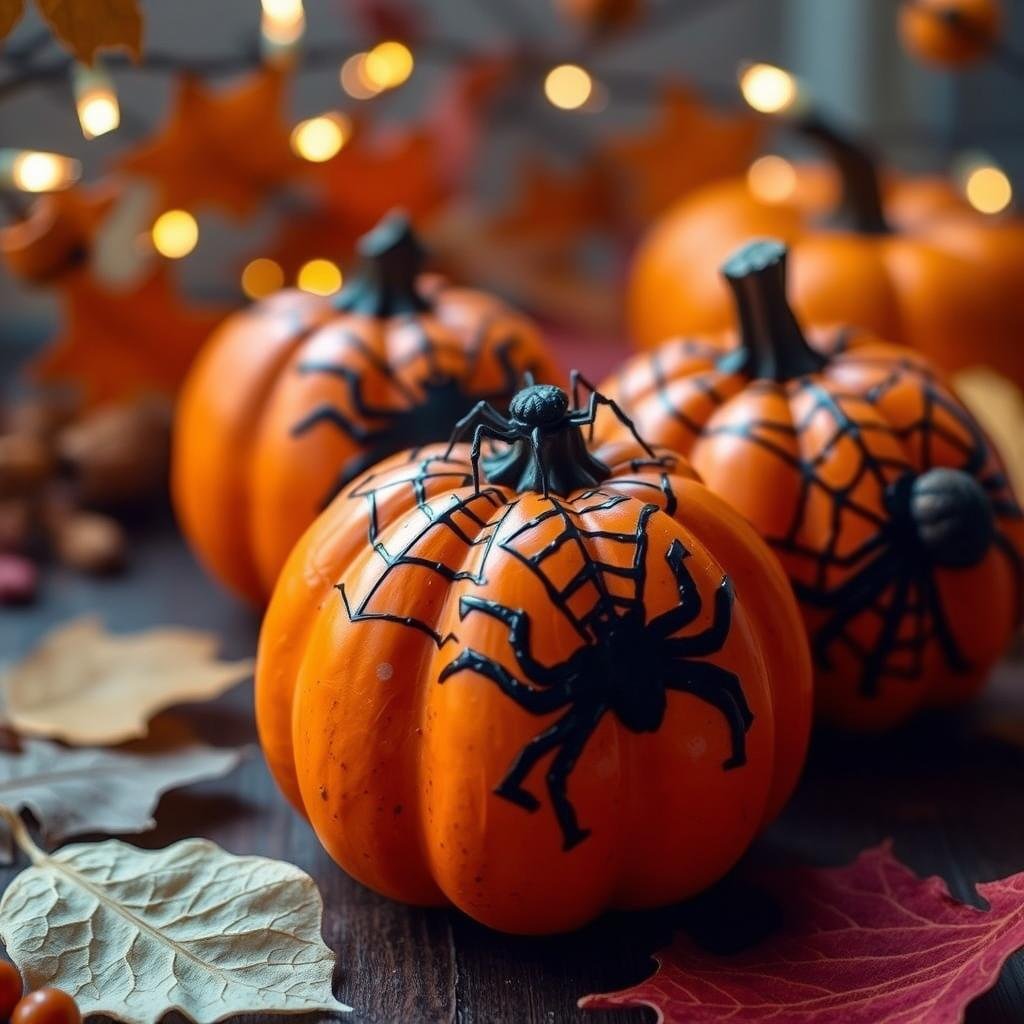
To create your own mini spider pumpkins, start by gathering a few small pumpkins or gourds. Paint them with a matte black acrylic paint, ensuring an even, glossy finish. Next, cut 23-inch lengths of galvanized steel wire to form the spider legs. Twist the wire into a curved shape and attach it to the pumpkin using a hot glue gun. Add a touch of personality by using black pipe cleaners to create curling, spindly legs.
Finish off your mini spider pumpkins by adding googly eyes. Use a white primer spray paint to prepare the pumpkin surface, then let your creativity shine by drawing on the eyes with black, red, and white paint markers. Name your spooky creation and display it proudly among your other halloween pumpkin decorations and creative pumpkin designs.
Pastel Pumpkin Faces
Turn plain pumpkins into fun, cheerful decorations with pastel painting. This approach brings a non-scary, playful vibe to your Halloween decor. It’s great for personal projects or hosting a painting party. These pastel pumpkin faces are perfect for showing off your creativity.
Choosing Pastel Shades
Choosing the right colors is key for cute pastel pumpkin faces. Go for soft, muted tones like baby blue, lilac, peach, mint, or pale yellow. These colors highlight the pumpkin’s natural beauty and add a whimsical touch. Feel free to mix and match different pastel shades to find your favorite.
Adding Whimsical Details
After picking your pastel paints, it’s time to add details to your pumpkin faces. Use a fine-tipped brush for rosy cheeks, smiling mouths, and expressive eyebrows. You can also add fun patterns like polka dots, stripes, or stars. The creative possibilities are endless with these pumpkin designs.
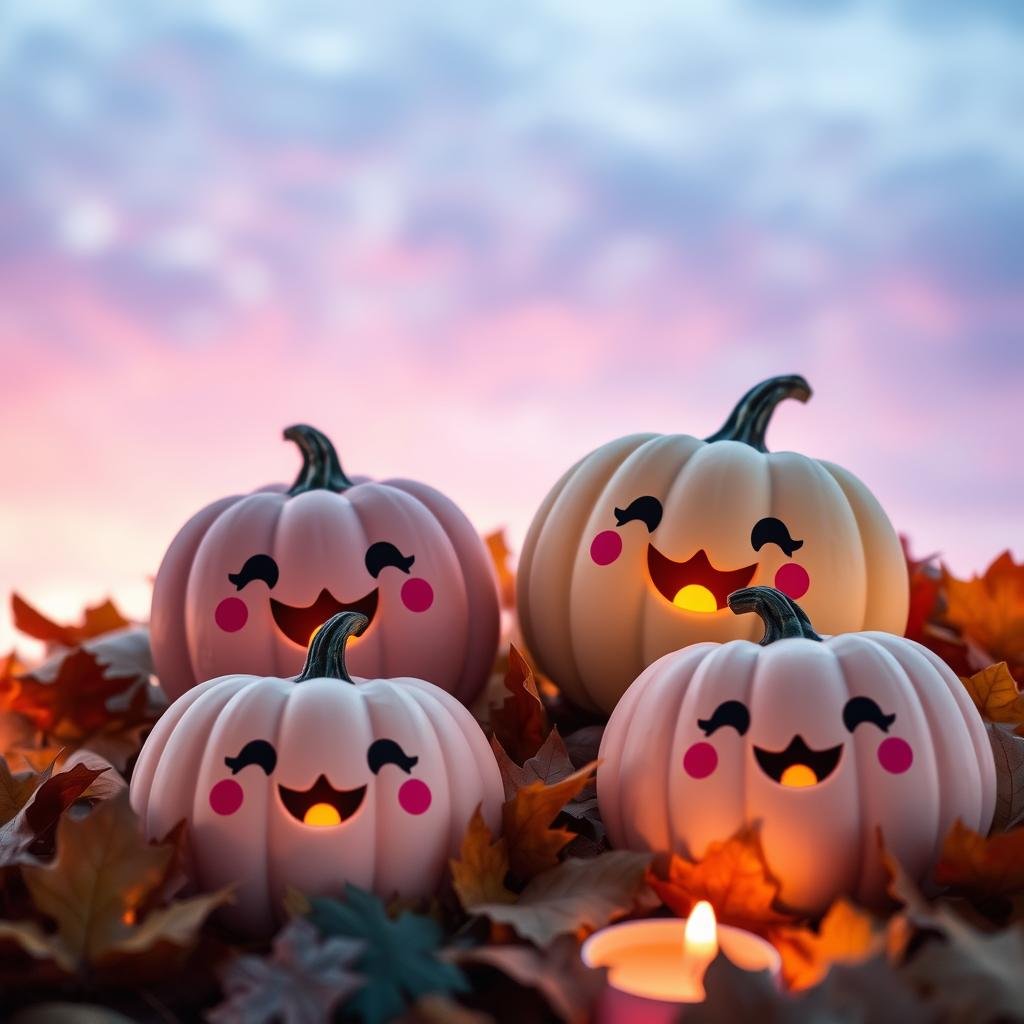
Whether you make one pastel pumpkin or a whole collection, they’ll add sweetness to your Halloween decor. Let your artistic side shine and explore these pastel pumpkin painting ideas.
Black Bat Pumpkin Decorations
This Halloween, make a bold statement with a neon-painted pumpkin and black paper bats. It’s a spooky touch that elevates your pumpkin decor.
Begin by painting your pumpkin with a vibrant neon color, like electric pink or neon orange. Once it dries, add the finishing touches. Cut out bat shapes from black craft foam and attach them to the pumpkin with a hot glue gun. This creates an eye-catching Halloween display that will impress your guests.
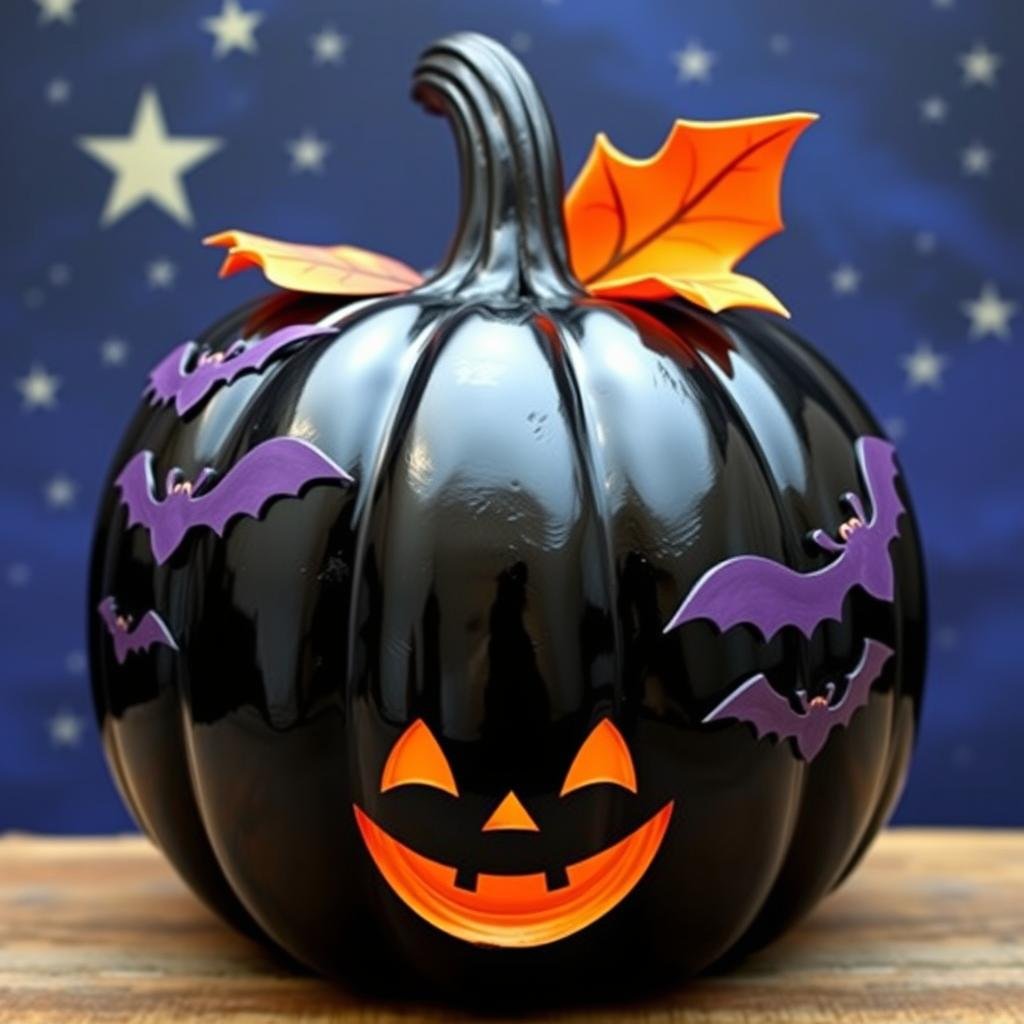
This creative pumpkin design is stunning and easy to make. With a few simple supplies from the dollar store, you can turn a plain pumpkin into a spooky, chic decoration. It’s a fun family activity for the autumn season.
Don’t settle for a basic jack-o’-lantern. Create a show-stopping black bat pumpkin that will be the neighborhood’s highlight. Embrace your creativity and try this unique pumpkin painting idea for a memorable Halloween celebration.
Conclusion
This article has shown many pumpkin painting ideas, from spooky to cute. You now have lots of inspiration and guides to make unique halloween pumpkin art. These projects are great for both experienced and new pumpkin decorators, offering endless ways to express yourself.
There are ideas for all skill levels, from detailed designs to simple patterns. Even a Jazz-themed pumpkin shows how versatile pumpkin painting can be. It’s a fun way to get creative and make your home festive.
When you start your pumpkin painting ideas this Halloween, enjoy the process. Don’t be afraid to try new things and share your work on social media with #VisionaryHalloween. With Disney-inspired designs and online resources, you can make your pumpkins truly special.
